Table of Contents
title: “DIY Accent Wall Ideas for Your Living Room: 12 Best Techniques (2026)”
slug: “diy-accent-wall-ideas-living-room”
domain: “4casahome.com”
primary_keyword: “DIY accent wall ideas living room”
meta_description: “Discover 12 DIY accent wall ideas for your living room, from limewash paint to shiplap. Each includes cost, difficulty rating, and renter-friendly flag.”
date: 2026-08-12
word_count: 2780
status: draft
author: “Lisa Morgan”
schema:
– Article
– FAQPage
– Author
Disclosure: This article contains affiliate links. If you buy through them, 4casahome.com earns a small commission at no extra cost to you. We only recommend products we believe are worth your money.
DIY Accent Wall Ideas for Your Living Room: 12 Best Techniques (2026)
Your living room does not need new furniture. One wall can do more for the feel of a room than a sofa swap or a rug change. A well-chosen accent wall creates a focal point, adds depth, and makes the whole space feel deliberate.
The twelve ideas below cover a full range of budgets, skill levels, and renter situations. Each one includes the real materials cost, a difficulty rating, and whether you need landlord permission. All the products mentioned are shoppable on Amazon, which makes sourcing fast and keeps costs in check.
How to Choose the Right Accent Wall
Start with the wall that draws the eye first when you walk in. That is usually the wall facing the door, the wall behind your sofa, or the wall framing your fireplace.
Once you have the wall, match the technique to three things:
- Your skill level. Peel-and-stick and paint require no power tools. Shiplap and board-and-batten require a saw and a nail gun.
- Your budget. Limewash and color block cost under $80. Wood paneling costs $150 to $400 depending on room size.
- Your renting situation. A renter-friendly flag is noted below for every idea that is truly removable without patching.
Paint-Based Accent Walls
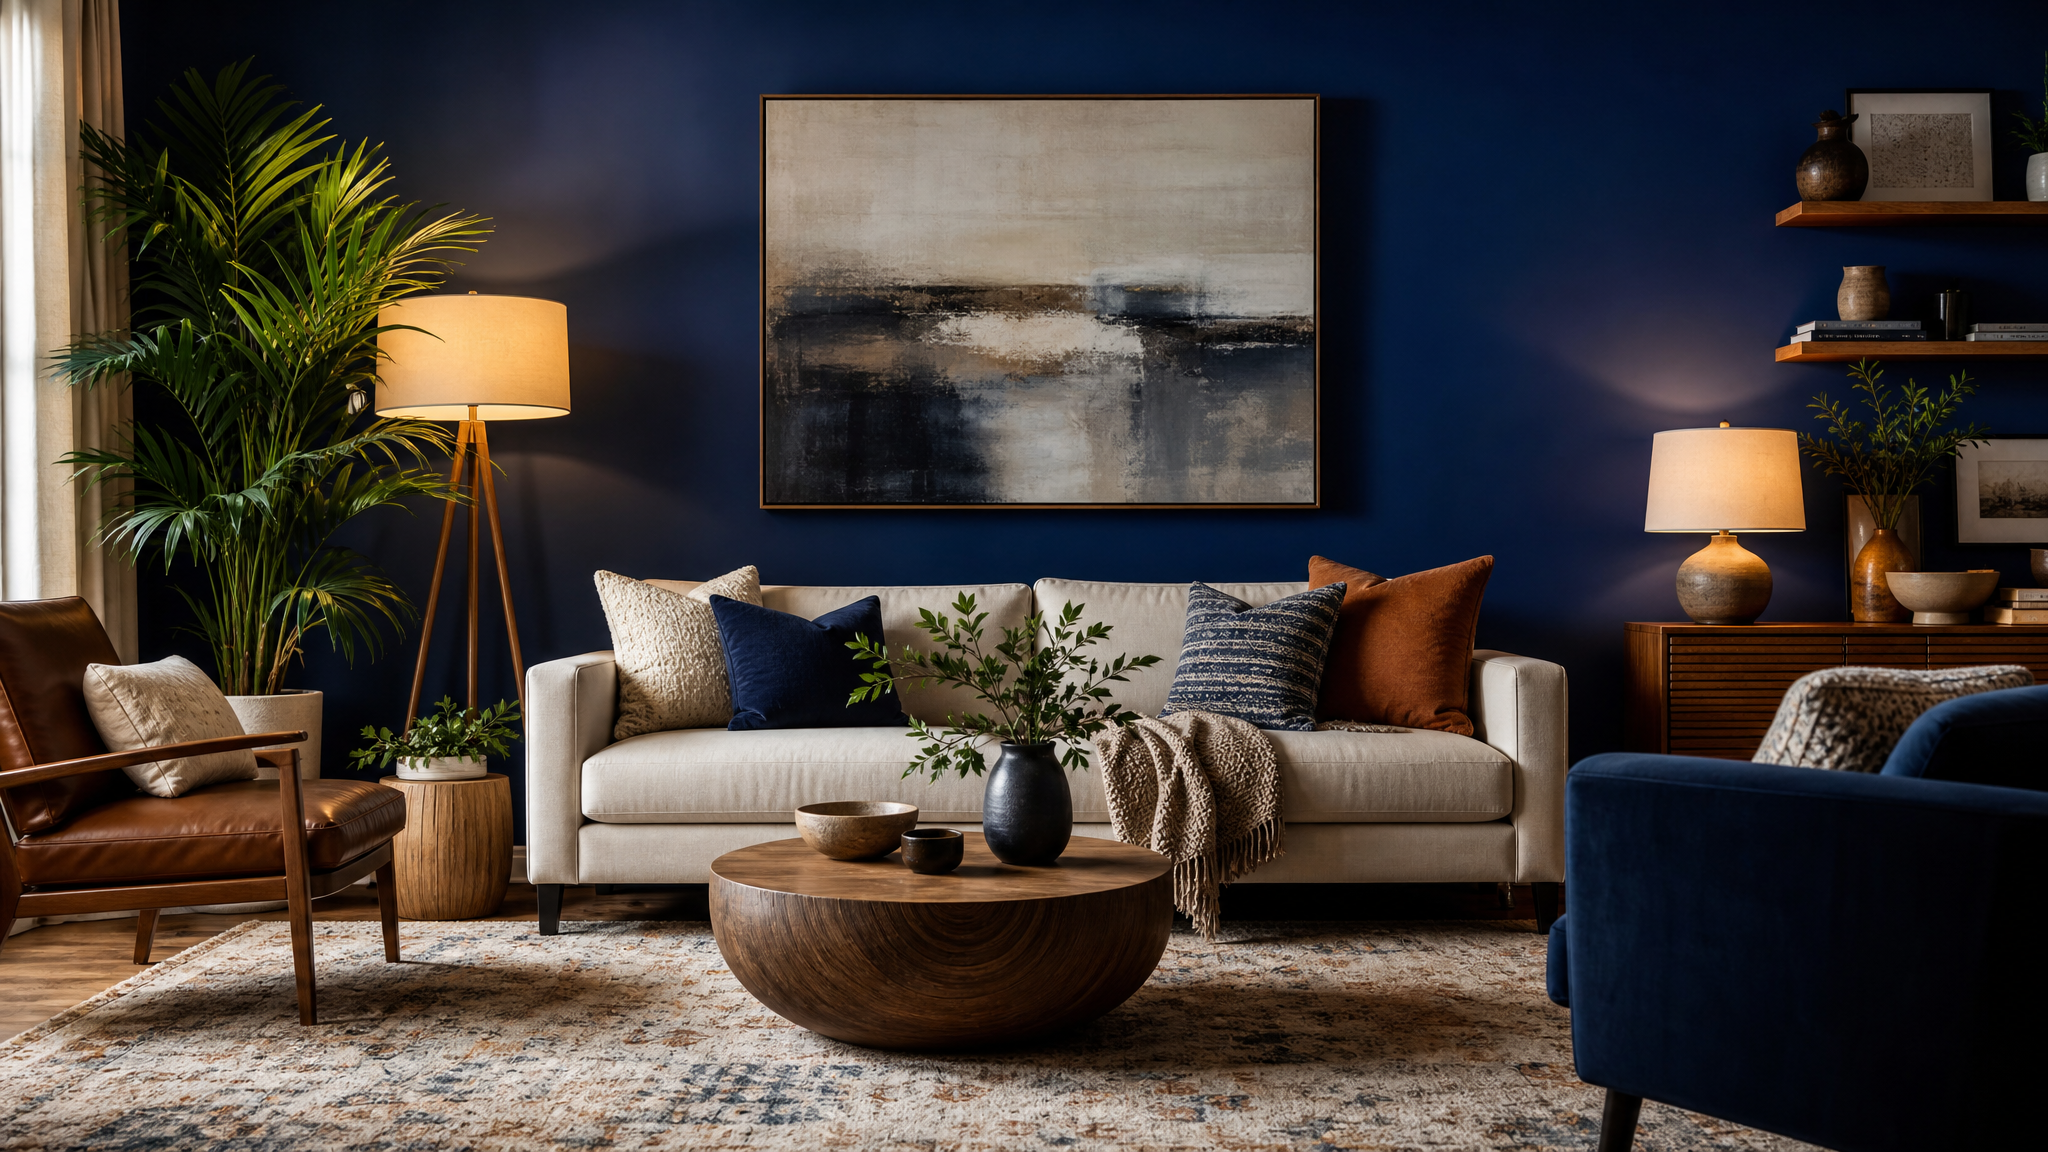
Paint-based techniques are the fastest entry point into DIY accent walls. They require no power tools, cost between $15 and $90, and are reversible with a fresh coat of standard paint.
Limewash Paint Wall
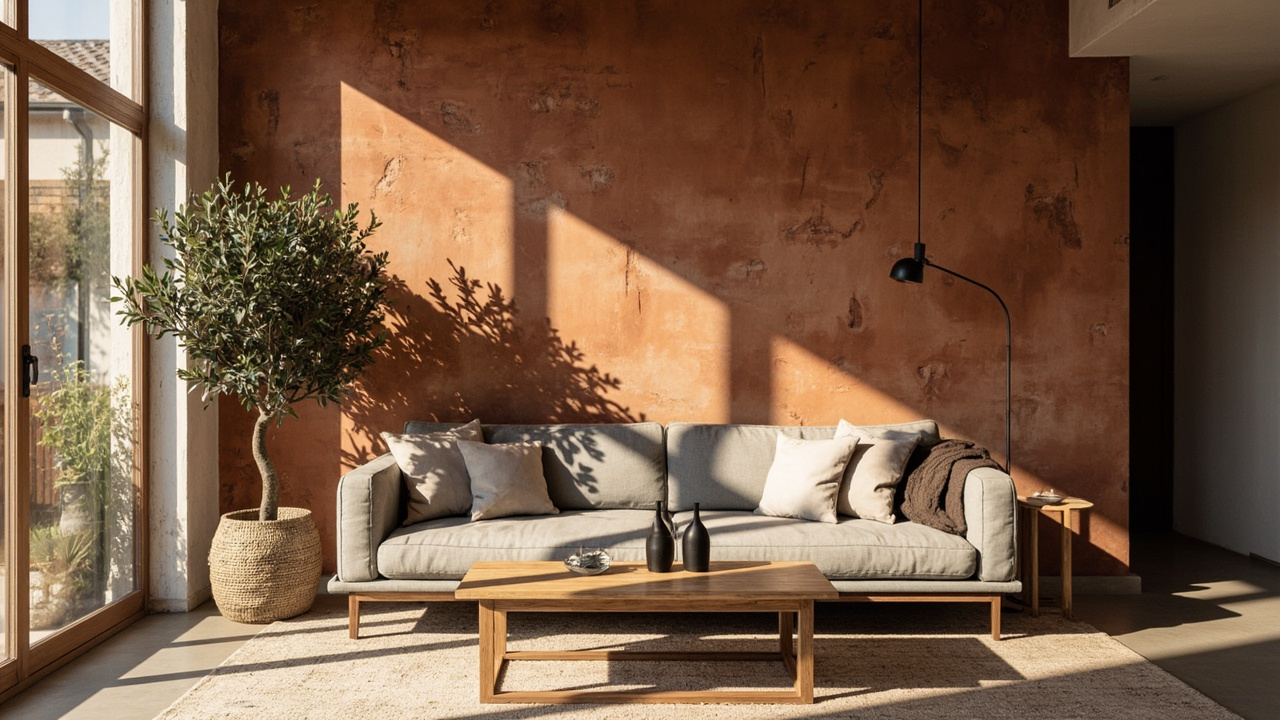
A limewash finish creates the look of ancient plaster with intentional texture and depth. The uneven, multi-directional brushwork is part of the design, not a flaw, so beginners get a forgiving result on the first attempt.
Best for: Anyone who wants texture and depth without spending much on materials.
What you need
- Limewash paint (Romabio Classico or Portola Paints are the two most-used brands; both available on Amazon)
- Wide natural-bristle brush or a chip brush
- Painter’s tape and drop cloths
- A spray bottle with clean water
Steps
- Tape off the perimeter of the wall.
- Dampen a small section (about 2 sq ft) with the spray bottle. Working in damp sections keeps the finish from drying unevenly.
- Apply limewash with loose, multi-directional strokes. Do not go back and forth in rows.
- Let dry 4 hours. Apply a second coat in the opposite direction for more depth.
Cost: $40 to $90 for a standard living room wall (12 x 9 ft)
Difficulty: Easy
Renter-friendly: No. You will need to repaint before you move out, but standard paint covers limewash in one or two coats.
According to Angi’s cost guide, DIY limewash costs start around $150 for small rooms including primer, while professional application can run close to $2,000. The DIY savings here are real.
Color Block Wall
Color blocking delivers bold visual impact for under $50 by painting two distinct color zones on one wall with a crisp line between them. It costs almost nothing extra if you already own paint and tape.
Best for: Budget-focused projects, renters, anyone who wants bold impact for under $50.
Steps
- Choose two colors with clear contrast: a warm neutral base and a deep accent (terracotta, deep teal, or warm charcoal work well in 2026).
- Map your line. For a horizontal split, center it at about 50 to 60 inches from the floor (above eye level tends to feel more expansive). For a diagonal, use a chalk line snapped from corner to corner.
- Apply painter’s tape along your line. Press the edge firmly to prevent bleeding.
- Paint the lower section first. Let dry. Remove tape while paint is still slightly tacky for a cleaner edge.
- Tape again and paint the upper section.
Cost: $20 to $50 (painter’s tape plus 1 quart of accent color)
Difficulty: Easy
Renter-friendly: Yes. Standard paint covers in 1 to 2 coats.
Pick up a quality quart of paint and premium painter’s tape on Amazon. Frog Tape (the green version) outperforms most alternatives for crisp edges.
Painted Geometric or Arch Design
Painted arches and geometric shapes have replaced the simple flat accent wall as the paint-only design of choice in 2026. A single large arch in warm terracotta or deep sage on a lighter wall creates a focal point that looks custom without adding any materials to the wall.
Best for: People who want a one-of-a-kind look without adding materials to the wall.
Steps
- Draw your arch or geometric shape lightly in pencil. For large arches, tie a pencil to a length of string and use it as a compass pivoting from a center point.
- Apply painter’s tape along the inside edge of your pencil line.
- Paint the interior of the shape in your accent color.
- Remove tape slowly while paint is still slightly tacky.
Cost: $15 to $40
Difficulty: Moderate (the drawing step takes care)
Renter-friendly: Yes.
Stencil Wall
A large repeating stencil in a contrasting color gives the impression of printed wallpaper for around $20 to $40 in materials. This works best with simple geometric patterns rather than complex florals, which are harder to align repeat-to-repeat.
Best for: Budget decorators who want a wallpaper look without the wallpaper price.
Steps
- Paint the wall your base color. Let cure 48 hours.
- Position stencil. Use a level to keep rows straight.
- Apply paint with a stencil roller or a dense foam roller. Minimal paint on the roller prevents bleeding under the stencil edge.
- Reposition stencil using built-in registration marks. Repeat across the full wall.
Cost: $20 to $45
Difficulty: Easy to moderate (alignment takes patience)
Renter-friendly: Yes. Paint covers.
Stencils are available on Amazon. Search “large wall stencil living room” for the right scale. A stencil that feels too large on the floor will look appropriate at wall scale.
Removable and Renter-Friendly Walls
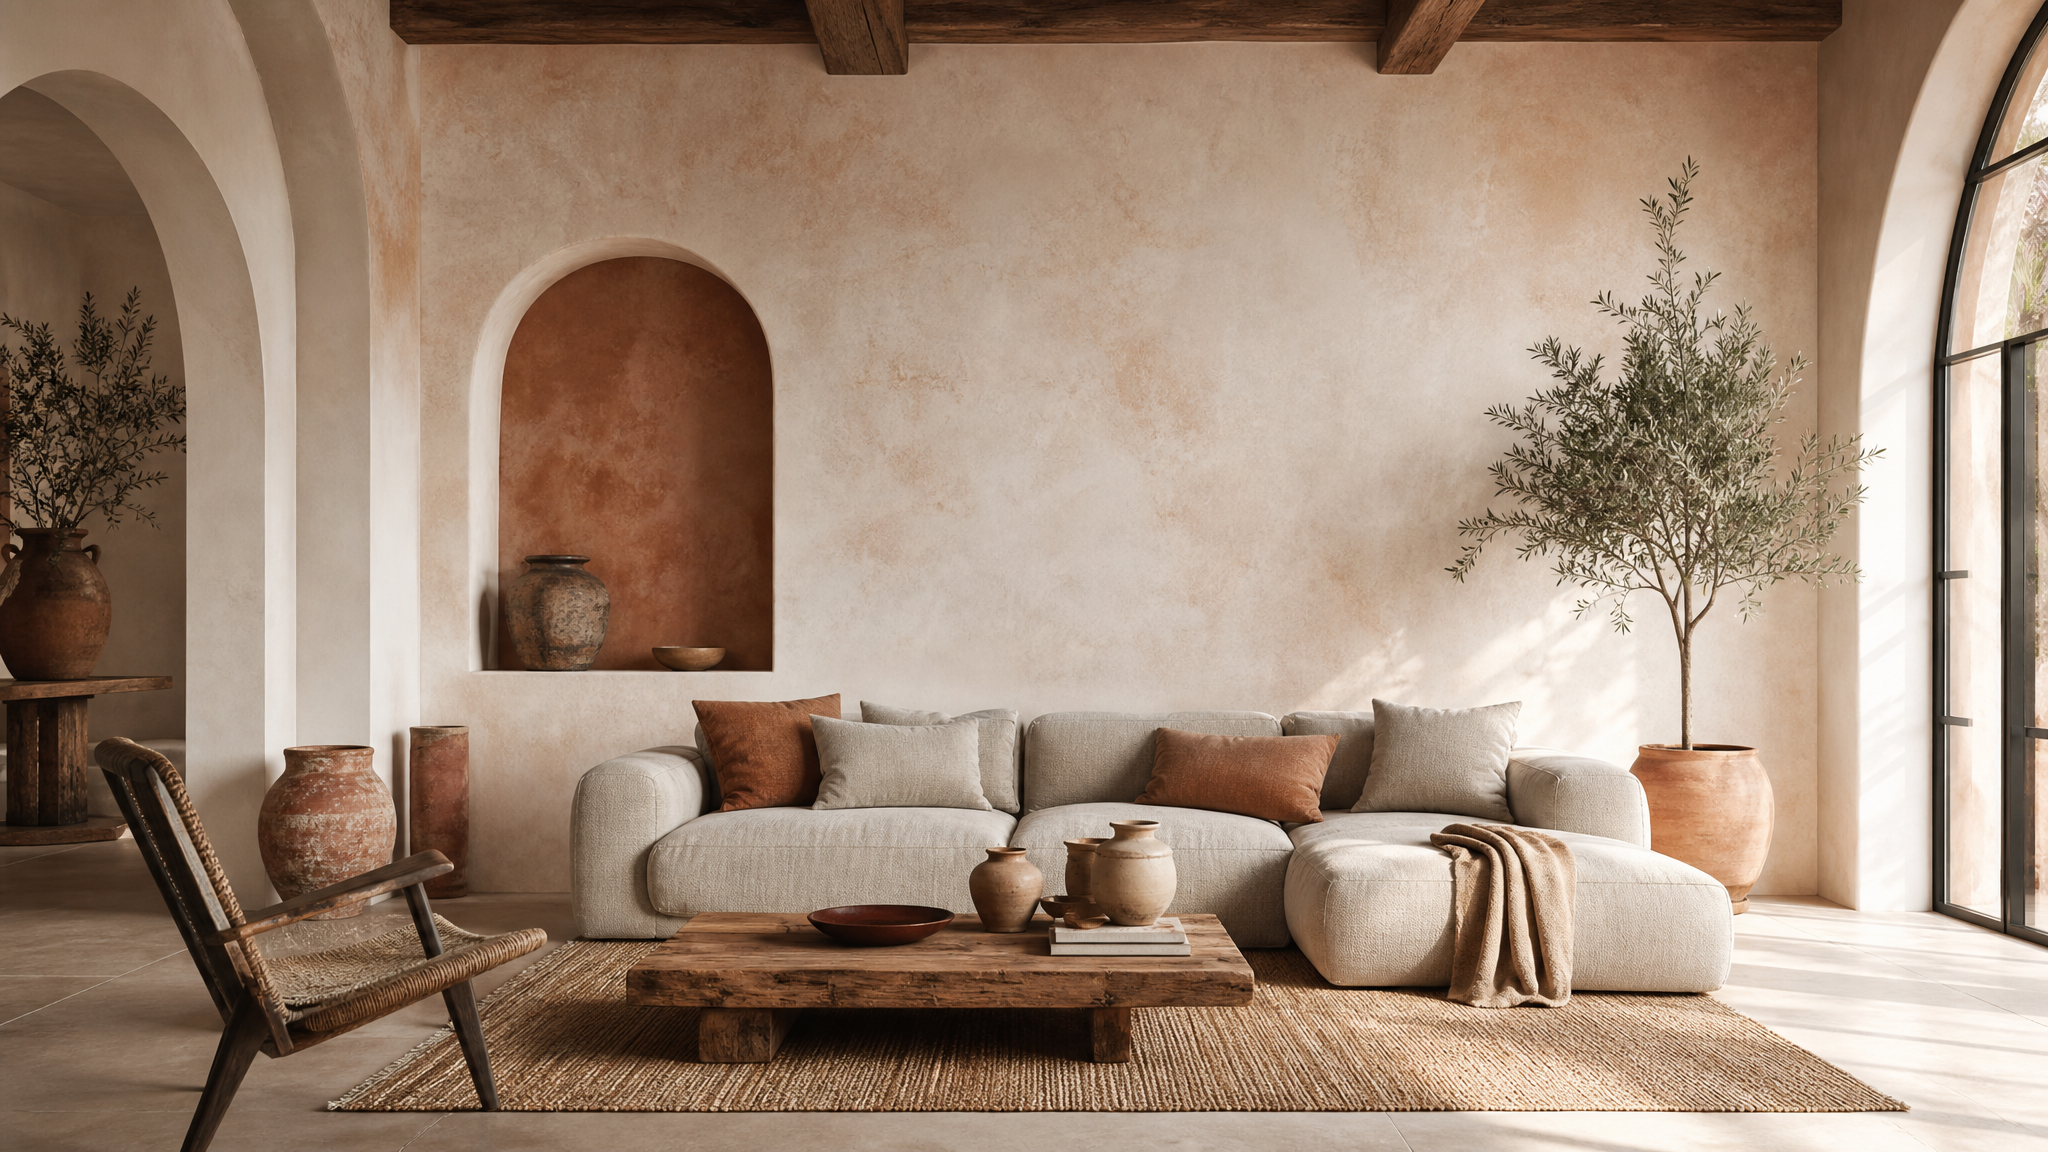
These techniques require no permanent wall modification and leave no meaningful damage on removal. They are the right category if you rent, plan to redecorate frequently, or want to test a look before committing.
Peel-and-Stick Wallpaper
Removable wallpaper has improved significantly in recent years. The better brands now ship with printed panels that align precisely and release cleanly without damaging paint underneath.
Best for: Renters, first-time DIYers, and anyone who wants to change their walls seasonally.
Steps
- Clean the wall with a damp cloth and let it dry fully. Dust and grease cause the adhesive to fail at the edges.
- Use a level to draw a faint plumb line at one edge. This is the most important step.
- Peel the backing 6 inches at a time and smooth from the center outward with a squeegee or credit card.
- Use a sharp craft knife to trim around outlets and corners.
Cost: $30 to $80 depending on pattern and wall size
Difficulty: Easy
Renter-friendly: Yes, fully removable if you use a quality peel-and-stick product.
Search “removable wallpaper living room” on Amazon and filter by color or pattern. Sort by rating and read at least 20 reviews before purchasing. Brands like NuWallpaper and Tempaper appear consistently in top results.
Gallery Wall
A gallery wall is the most flexible accent treatment available. You control the scale, the mood, and the cost entirely. A grouping of three large frames reads as calm and considered. A dense grid of 20 mixed pieces reads as eclectic and layered.
Best for: Renters, style-explorers, people who want something personal rather than architectural.
2026 gallery wall rules
According to Frameology’s 2026 layout guide, the current approach favors mixed frame finishes (timber, black, and soft metallics) over matching sets, and minimal arrangements of 3 to 5 large pieces over dense grids.
Key measurements:
– Center your arrangement at 57 to 60 inches from the floor (eye level seated or standing)
– Position a gallery behind a sofa so the bottom of the lowest frame is 6 to 8 inches above the top of the back cushion
– Keep 2 to 3 inches between frames
Steps
- Lay frames on the floor first. Arrange until you find a grouping you like.
- Cut paper templates of each frame. Tape them to the wall in your planned layout.
- Use a level on each template before hammering any hooks.
- Hang frames from the templates. Adjust spacing by eye before committing.
Cost: $30 to $150 depending on frames purchased
Difficulty: Easy
Renter-friendly: Yes. Small nail holes patch in minutes.
Frames, photo ledges, and art prints are all available on Amazon. Search “gallery wall frames set” and filter by color finish (black, natural wood, and gold are the top 2026 choices).
Fabric Wall Panel
Stretched fabric panels mount on wooden frames and hang like large artwork. They add texture, sound absorption, and a soft visual warmth that no painted surface can match.
Best for: Renters, people in loud apartments who want acoustic softness, nursery conversions.
Steps
- Build or buy a 1×2 lumber frame in your desired panel dimensions.
- Stretch batting (optional, for softness and acoustic benefit) and then your fabric over the frame. Staple gun to the back.
- Add picture-hanging hardware to the back.
- Hang like artwork. No wall damage beyond two small nail holes.
Cost: $30 to $90 per panel (fabric and lumber)
Difficulty: Easy
Renter-friendly: Yes, completely.
Fabric, batting, and staple guns are all on Amazon. Choose an upholstery-weight fabric or a large-scale linen for the best visual result at wall scale.
Permanent Wood and Texture Walls
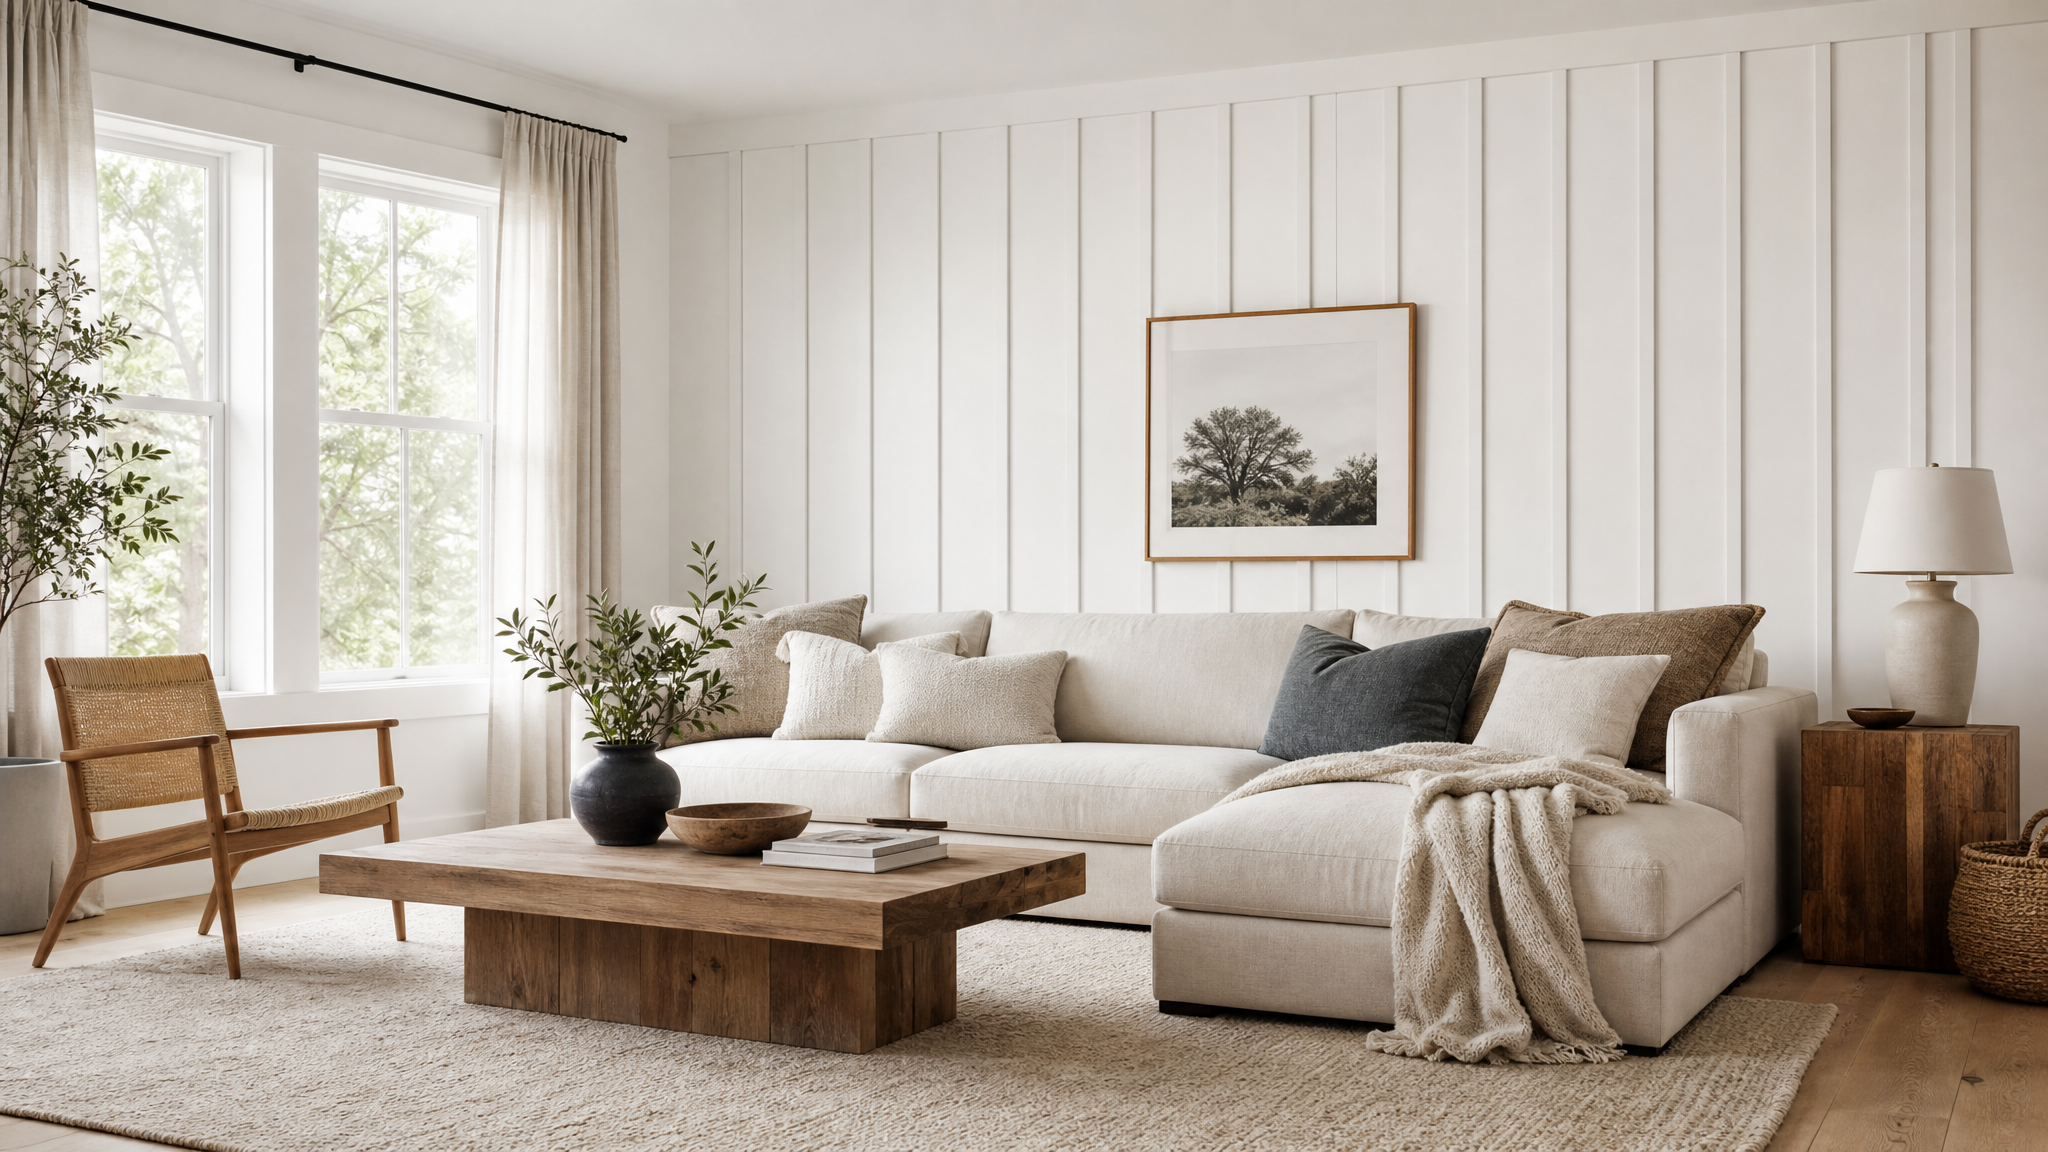
These techniques involve nailing or adhering materials to the wall and are intended to stay in place. They deliver the most substantial architectural transformation and command the highest cost range. They also offer the biggest visual return in photos and in person.
If cost is a concern across any of these projects, see our guide to budget home makeover tricks for sourcing cheaper lumber, discounted panels, and clearance paint strategies that apply directly to these builds.
Shiplap Wall DIY
Shiplap is horizontal planking with a small reveal between boards. It adds real texture and architectural weight to a room and in 2026 has moved well beyond the farmhouse style, appearing painted dark in modern rooms and left natural in coastal spaces.
Best for: Farmhouse, coastal, and warm-modern living rooms.
What you need
- 1×6 pine boards (or pre-primed shiplap boards from Amazon or your local Home Depot)
- Nail gun and 2-inch finish nails (or construction adhesive for a no-nail installation)
- Circular saw or miter saw
- Level, tape measure, spacers (a nickel works as a reveal spacer)
- Paint and primer
Steps
- Find and mark your studs.
- Start at the bottom of the wall. Cut boards to length. The first row must be level even if your floor is not.
- Nail each board into the studs. Place spacers between boards before nailing the next row.
- Continue up the wall. Cut around outlets carefully.
- Fill nail holes, caulk seams, prime, and paint two coats.
Cost: $120 to $300 for a 12 x 9 ft wall depending on wood choice
Difficulty: Moderate (requires basic power tools)
Renter-friendly: No. Requires nail-into-stud installation that leaves visible holes on removal.
Per The Coolist’s 2026 shiplap guide, shiplap is no longer just for farmhouse rooms and now appears in modern coastal and minimal spaces painted in deep navy or warm white.
Board and Batten
Board and batten uses vertical boards fixed over a flat panel to create a structured grid pattern on the lower half or full height of a wall. The visual effect makes ceilings look taller and rooms feel more formal without feeling cold.
Best for: Traditional, transitional, or Japandi-style living rooms. Excellent for adding height to low-ceiling rooms.
You can complete a board-and-batten accent wall in a single day, according to Crystel Montenegro Home’s 2026 tutorial.
What you need
- MDF boards, 1.5 to 2 inches wide (available at Home Depot or Amazon for pre-cut strips)
- Level, tape measure, pencil
- Brad nail gun or construction adhesive
- Wood filler, sandpaper
- Primer and paint (semi-gloss holds up well on trim surfaces)
Steps
- Decide your pattern height. Half-wall (chair-rail height, about 36 inches) or full floor-to-ceiling.
- Paint the wall your base color first. This avoids cutting in around every batten later.
- Cut battens to length. Space them evenly, typically 12 to 16 inches apart.
- Nail or glue each batten vertically. Check plumb on every board.
- Add a top rail board and a bottom base board to frame the grid.
- Fill all nail holes and gaps with wood filler. Sand smooth. Paint the entire treatment one color (or two for contrast).
Cost: $80 to $200
Difficulty: Moderate
Renter-friendly: Technically no, but adhesive-only installation is possible and a small amount of spackling repairs the holes on exit.
This technique pairs well with the Japandi aesthetic. For more on that look, see our guide to Japandi interior design ideas for 2026.
Wood Slat Panel Wall DIY
Vertical wood slats create a warm, textured surface that photographs well and adds acoustic softness to hard-floored living rooms. Pre-made slat panels have made this project much faster than it used to be.
Best for: Modern, organic-modern, and biophilic interior styles.
What you need
- Pre-assembled wood slat panels (search “wood slat wall panel” on Amazon; most come in 96 x 16-inch sections that click together)
- Construction adhesive or panel nails
- Miter saw for corner cuts
- Sandpaper and natural wood oil or stain
Steps
- Sand panels lightly if needed. Apply oil or stain for a richer finish before installation.
- Apply adhesive in vertical lines on the back of each panel.
- Press to wall and use painter’s tape to hold while the adhesive cures (usually 24 hours).
- Click panels together edge-to-edge. Trim the final panel to width with a saw.
Cost: $150 to $350 depending on panel brand and wall width
Difficulty: Moderate
Renter-friendly: Possibly, with adhesive-only installation and careful removal. Test on a small patch first.
This look connects directly to biophilic design principles. Read more in our guide to biophilic design home ideas.
Fluted Panel Wall
Fluted panels (vertical channels cut into MDF or PVC) are a major 2026 trend, appearing in hotels, restaurants, and design-forward living rooms. The pre-made PVC versions make this an accessible DIY project with a high-end result.
Best for: Anyone who wants the high-end fluted texture look at a mid-range budget.
Cost: $120 to $280
Difficulty: Moderate
Renter-friendly: Depends on installation method. PVC panels are lighter than MDF, making adhesive-only installation more viable.
Search “fluted wall panel PVC” on Amazon. Wayfair also carries a wide range of fluted wall panels if you want more style options at different price points.
Brick Veneer Panel Wall
Brick veneer panels are thin faux-brick panels that adhere to drywall with construction adhesive. The result looks far more convincing than painted faux brick and is lighter and easier than real brick installation.
Best for: Industrial, loft, and warm-modern rooms.
Cost: $100 to $250
Difficulty: Moderate
Renter-friendly: No. Adhesive removal damages drywall paper.
Find brick veneer panels on Amazon or at your local Home Depot.
Comparison Table: All 12 Ideas at a Glance
| Idea | Cost Range | Difficulty | Renter-Friendly |
|---|---|---|---|
| Limewash Paint | $40-$90 | Easy | No (repaintable) |
| Color Block | $20-$50 | Easy | Yes |
| Painted Arch/Geometric | $15-$40 | Moderate | Yes |
| Stencil Wall | $20-$45 | Easy-Mod | Yes |
| Peel-and-Stick Wallpaper | $30-$80 | Easy | Yes |
| Gallery Wall | $30-$150 | Easy | Yes |
| Fabric Panels | $30-$90 | Easy | Yes |
| Shiplap | $120-$300 | Moderate | No |
| Board and Batten | $80-$200 | Moderate | Mostly No |
| Wood Slat Panels | $150-$350 | Moderate | Possibly |
| Fluted Panels | $120-$280 | Moderate | Possibly |
| Brick Veneer | $100-$250 | Moderate | No |
Our Top Recommendation: Where to Buy Supplies
For all of these projects, Amazon is the most convenient single source for paint tools, wallpaper, wood panels, frames, and stencils. The search terms are in each section above, and Prime delivery means your project is not delayed by a store trip.
For large lumber and panels (shiplap boards, MDF for board-and-batten), Home Depot will be cheaper and you can get boards cut to size in-store. For decorative panels with a wider style range, Wayfair carries options Amazon does not stock.
FAQ: DIY Accent Wall Ideas for Living Rooms
What is the easiest DIY accent wall for beginners?
A color block wall is the easiest DIY accent wall for beginners. It requires only paint, painter’s tape, and a roller. No special tools or skills are needed, and mistakes are easily corrected by repainting.
How much does a DIY accent wall cost on average?
A DIY accent wall costs between $20 and $350 depending on the technique. Paint-only options (color block, stencil, painted arch) cost under $50. Wood treatments (shiplap, board-and-batten, slat panels) cost $100 to $350. Peel-and-stick wallpaper falls in the $30 to $80 range.
Can renters do a DIY accent wall?
Yes. Several techniques are fully renter-friendly: peel-and-stick wallpaper, gallery walls, color block paint, stencil paint, fabric panels, and painted geometric designs. All can be reversed without significant wall damage. Always check your lease before any installation.
What is the most popular accent wall technique in 2026?
Textured walls are the dominant trend in 2026, according to theroomsart.com’s 2026 accent wall guide. Limewash, wood slats, and fluted panels are the three most-searched textures this year. Flat single-color accent walls are less common than they were five years ago.
How do I choose the right wall for an accent treatment?
Choose the wall your eye naturally lands on when you enter the room. This is usually the wall facing the entry point, the wall behind the main sofa, or the fireplace wall. Avoid accent-treating a wall that is broken by too many doors or windows, as the treatment will feel fragmented.
Final Thoughts
The twelve ideas above cover every skill level and budget range. If you are starting out, the color block or gallery wall costs under $50 and requires only basic supplies. If you are ready for a bigger project, shiplap and board-and-batten create the most substantial architectural change for under $300.
All of the supplies for these projects are available through Amazon. Search the specific terms in each section above to find current listings with verified reviews.
Pick one wall, pick one technique, and start this weekend. The room will look different in 48 hours.
Get the 4casahome digest
Honest reviews and no-hype guides — straight to your inbox. No spam, unsubscribe anytime.
Some links in our articles are affiliate links. See our full Affiliate Disclosure for details.
Related Articles
Written and tested by our editorial team
4CasaHome Editorial Team
Interior Design & Smart Home Experts
All product reviews are based on hands-on testing in real home environments. Smart home content is verified by our CEDIA-certified integrator. Meet our team.