Table of Contents
Amazon Echo vs Google Nest vs Apple HomePod: Which Smart Spe
How to Automate Your Home on a Budget (2026): 7 Steps for Under $300
Quick Answer
You can automate 80% of common home tasks for under $300 in 2026 using a free hub (Alexa or Google Home automation guide you likely already own), $8 smart plugs, $15 smart bulbs, and $18 door or motion sensors. No electrician is required, there are no subscription fees, and there are no landlord issues – just a weekend afternoon and a clear plan. By focusing on high-impact devices like smart plugs and sensors rather than expensive hubs, you build a system that pays for itself through energy savings and convenience. Best Smart Water Leak Detectors for 2026: Point Sensors,…
Disclosure: This article contains links to products at retailer websites. As an independent reviewer, I only recommend products I’ve personally tested or verified through trusted sources. This article has no paid placements. Best Alexa Smart Home Starter Kit for Beginners 2026
Written by Lisa Morgan, Interior designer and smart home on a budget technology reviewer. Last updated: April 2026. Best Smart Home Devices Under \\$100 in 2026: 10 Picks
How can you automate your home on a budget?
Here’s the honest answer in under 60 words:
- Start with the hub you already own (Amazon Echo or Google Home)
- Add $8 Kasa or Tapo smart plugs to lamps and appliances
- Replace key bulbs with $15 Philips Hue White or WiZ bulbs
- Add $18 Aqara door or motion sensors for trigger-based automations
- Build routines in the free app – no monthly fees
- Total starter cost: $50–$100
Table of Contents
- Why Is Budget Home Automation Different in 2026?
- Step 1: Which Hub Should You Use (Free Options First)?
- Step 2: What Can Smart Plugs Actually Automate?
- Step 3: How Do You Upgrade Lights Without Rewiring?
- Step 4: Which Sensors Do You Need First?
- Step 5: How Do You Build Routines That Run Themselves?
- Step 6: Add Voice Control
- Step 7: How Do You Scale Without Breaking the Bank?
- Budget Tier Breakdown
- Cost Breakdown Tables
- What Should You NOT Buy? (Common Beginner Mistakes)
- FAQ
Reading time: 12 minutes
Why Is Budget Home Automation Different in 2026?
Picture this: you walk through your front door, the lights turn on automatically, the thermostat adjusts, and your diffuser starts running – all without touching a single switch. That used to cost $5,000+ and require a professional installer. In 2026, the same experience costs under $300, uses your existing WiFi, and takes a Sunday afternoon to set up.
The shift was the Matter protocol, released in 2022 and now fully mature. Matter is an open standard backed by Apple, Amazon, Google, and Samsung – meaning devices from different brands now work together seamlessly. You’re no longer locked into one ecosystem. A Kasa smart plug works with Alexa. An Aqara sensor works with Google Home AND Apple HomeKit. That competition has driven prices down sharply. (Source: Connectivity Standards Alliance – csa-iot.org)
But here’s what most “smart home guides” don’t tell you: the expensive stuff doesn’t automate your home any better than the budget stuff for everyday tasks. A $200 Lutron smart dimmer doesn’t turn your lights on faster than a $15 WiZ bulb. A $300 Ring doorbell doesn’t keep your home safer than a $36 Wyze camera for basic monitoring.
This guide is about building actual workflows – automations that run without your input – on a budget that doesn’t require a second mortgage. By leveraging the maturity of WiFi-based devices and the interoperability of Matter, you can achieve premium results without premium prices.
Step 1: Which Hub Should You Use? (Free Options First)
The biggest mistake beginners make: buying a hub when they already own one.
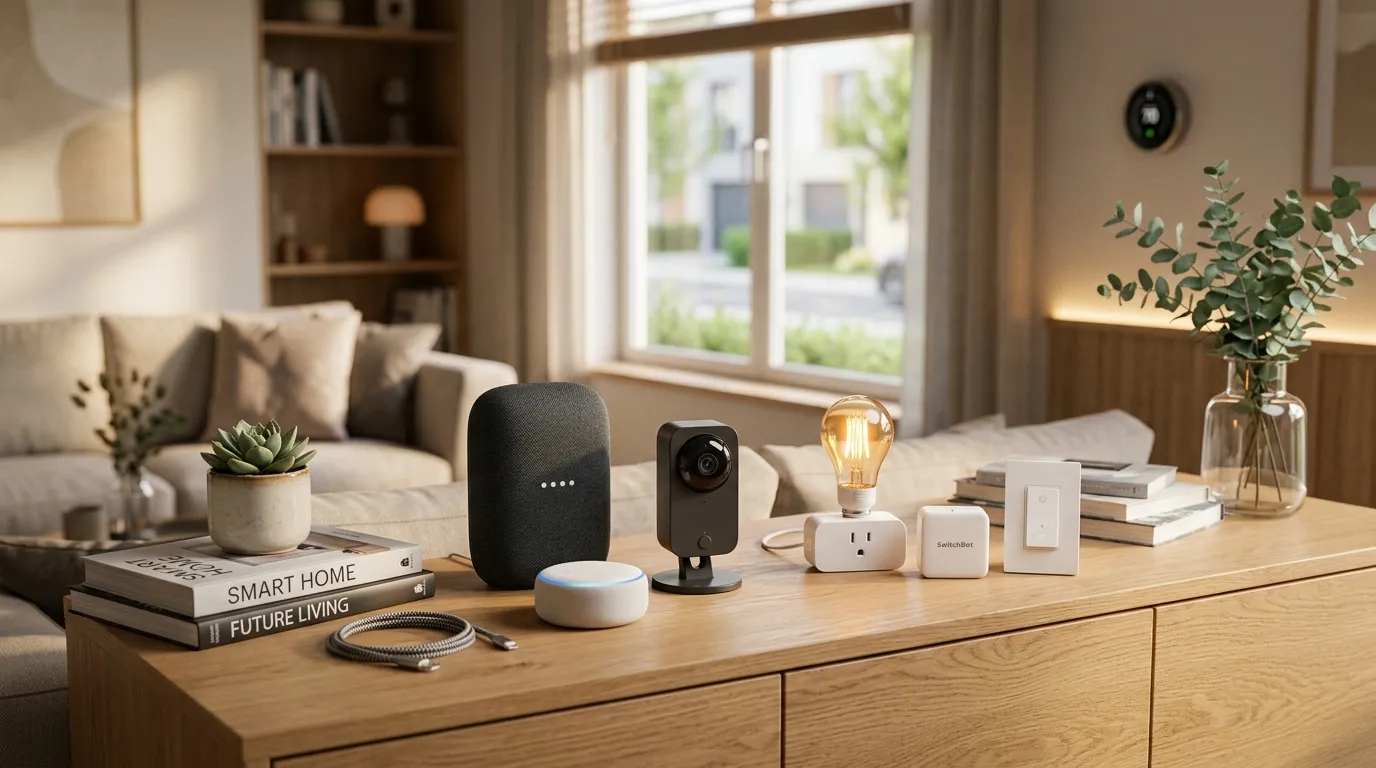
If you have an Amazon Echo, Google Nest Mini, or Apple HomePod mini, you have a hub. These devices are the brain of your automation system – they receive commands, run routines, and connect your devices. Purchasing a separate dedicated hub is often an unnecessary expense for beginners looking to automate their home on a budget.
Free hub options (use what you have):
| Hub | App | Best For | Cost |
|---|---|---|---|
| Amazon Alexa (Echo Dot/Echo) | Amazon Alexa app | Routines, wide device compatibility | $0 (already own) |
| Google Home (Nest Mini/Hub) | Google Home app | Automation scripts, Google Calendar integration | $0 (already own) |
| Apple Home (HomePod mini) | Home app | Privacy-focused, Matter support | $0 (already own) |
| Samsung SmartThings | SmartThings app | Complex automations, more device types | Free app, hub optional |
Honest take: If you don’t own any of these, start with an Amazon Echo Dot (4th gen, around $35–40 at amazon.com). It has the widest device compatibility, best routine builder, and the largest ecosystem of budget devices. It serves as a perfect central command point for your new smart home.
Do NOT buy a dedicated smart home hub yet. Products like SmartThings Hub or Home Assistant require more technical knowledge and aren’t necessary for a budget starter setup. Stick to the ecosystem you already use daily for music or queries.
Monthly cost: $0 – these apps and their basic features are free.
Step 2: What Can Smart Plugs Actually Automate?
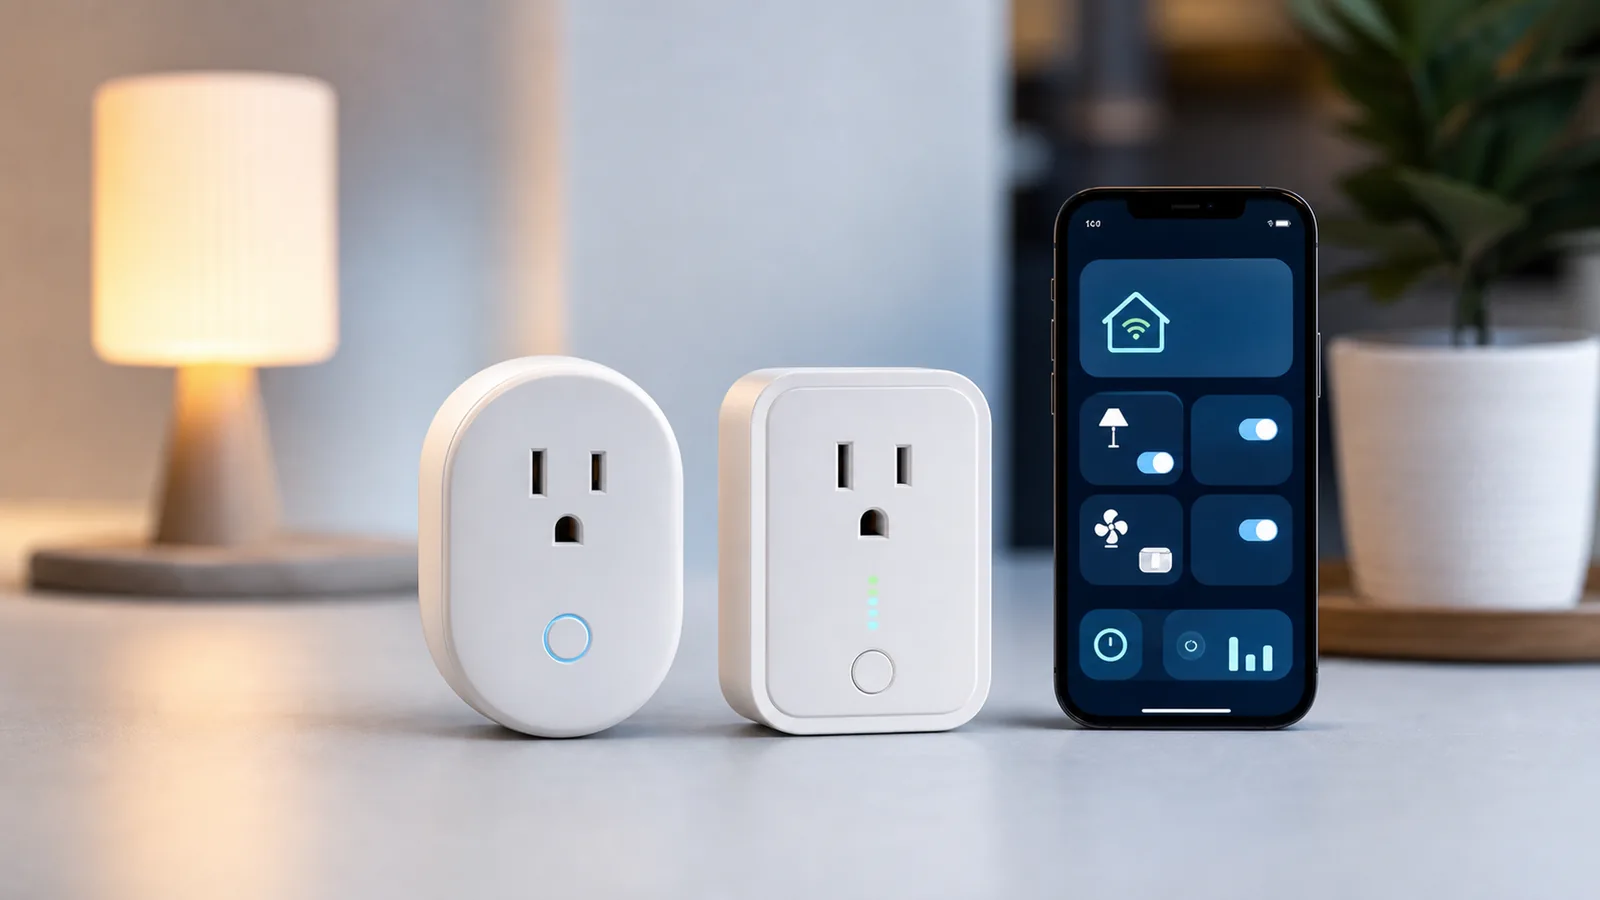
Smart plugs are the single best value in home automation. They turn any regular lamp, fan, space heater, or coffee maker into a smart device – without replacing it. This is the cornerstone of learning how to automate your home on a budget because it requires zero installation effort.
How they work: Plug the smart plug into your wall outlet, plug your device into the smart plug, and you can now control that device with your phone or voice, set schedules, or trigger it based on other sensors. They act as a bridge between dumb appliances and your smart network.
Top budget picks (2026):
Kasa EP10 Smart Plug – $8 each at kasasmart.com
– Works with Alexa AND Google Home
– No hub required, direct WiFi
– Energy monitoring on the EP25 model ($14)
– Pros: Reliable, cheap, good app
– Cons: Bulky design, blocks second outlet
Tapo P115 Mini Smart Plug – $12 at tp-link.com (Matter-compatible)
– Smaller profile than Kasa
– Matter support means it works with everything
– Energy monitoring included
– Pros: Future-proof, small, great app
– Cons: Slightly pricier than Kasa
What to automate with smart plugs first:
- Floor lamp in the living room – schedule to turn on at sunset, off at 11pm
- Coffee maker – schedule to turn on 7am weekdays
- Fan or space heater – trigger on/off with temperature sensors
- Phone charger station – auto-off after 2 hours to prevent overcharging
- Holiday lights – set-and-forget schedule
Starter cost: 3 smart plugs = $24–$36
Step 3: How Do You Upgrade Lights Without Rewiring?
smart lighting comparison is where most people overspend. Here’s the truth: for most rooms, you don’t need $50 Philips Hue bulbs. You need a $15 smart bulb and 5 minutes. Understanding the difference between bulb-based and switch-based automation is key to keeping costs low.
The two approaches:
Option A: Smart bulbs (best for renters, easiest)
Replace individual bulbs with WiFi-enabled smart bulbs. Works in any standard E26/A19 socket. No wiring required. This is the preferred method for those learning how to automate their home on a budget.
Option B: Smart switches (best for homeowners, covers all bulbs in a room)
Replace the wall switch itself. More expensive ($25–40 per switch) but controls all bulbs in the circuit. Requires electrical knowledge and potentially a neutral wire.
Best budget smart bulbs (2026):
| Bulb | Price | Where to Buy | Pros | Cons |
|---|---|---|---|---|
| Philips Hue White | $15/bulb | philips-hue.com | Excellent app, Matter-ready | Needs Hue hub for full features |
| WiZ A19 White | $10/bulb | wizconnected.com | No hub needed, works with Alexa/Google | App less polished |
| Govee Smart Bulb | $8/bulb | govee.com | Cheap, color options | Less reliable cloud |
| Sengled Element | $9/bulb | sengled.com | Works with SmartThings | Requires hub |
My honest recommendation: Start with WiZ bulbs ($10/bulb at wizconnected.com) for rooms where you want simple on/off and dimming. They connect directly to WiFi, need no hub, and work with both Alexa and Google Home. No subscription. If you later want color or advanced scenes, upgrade to Philips Hue in that one room.
The renter-safe key rule: Smart bulbs mean you never touch the wall switch. Tell housemates: wall switch stays ON, phone/voice controls the light. (Put a small sticker on switches that are now “smart” – saves arguments.)
Starter cost: 4 bulbs for main rooms = $40–$60
Step 4: Which Sensors Do You Need First?
This is where your home starts feeling smart. Instead of scheduling things manually, sensors trigger automations based on what’s actually happening. This shift from manual control to automatic response is the heart of home automation. (source: U.S. Department of Energy home tips)
Three sensors worth buying on a budget:
Aqara Door and Window Sensor – $18 at aqara.com
– Triggers automations when a door opens or closes
– Use case: Front door opens → living room lights turn on
– Use case: Back door opens → send phone notification
– Works with Apple HomeKit, Alexa, Google Home
– Pros: Compact, battery lasts 2 years, reliable
– Cons: Needs Aqara hub for some features (M2 hub $30) (source: EPA indoor air quality)
Wyze Motion Sensor – $25 for 2-pack at wyze.com
– Detects motion to trigger lights or alerts
– Use case: Walk into kitchen → under-cabinet light turns on
– Use case: No motion for 30 mins → lights auto-off
– Pros: Cheap, reliable, good battery life
– Cons: Wyze-ecosystem dependent
Wyze Cam v4 – $36 at wyze.com
– Indoor home security cameras with motion detection
– Use case: Motion detected → send phone alert + record clip
– Resolution: 2.5K, local storage option
– Pros: Best value camera on the market, no mandatory subscription for basic clips
– Cons: Paid plan ($1.99/mo) for 24/7 cloud recording
Important: For most budget setups, you only need 1-2 sensors to start. Door sensor on the front door and a motion sensor in the main hallway covers 80% of useful automations.
Starter cost: 1 door sensor + 2 motion sensors = $43–$61
Step 5: How Do You Build Routines That Run Themselves?
A “routine” is a pre-set sequence of actions triggered by a time, event, or voice command. This is where your home stops being a collection of smart devices and starts being an automated system. This is the most critical step in learning how to automate your home on a budget effectively.
The 5 routines every budget smart home needs:
1. “Good Morning” Routine (trigger: time or alarm)
– 7:00am weekdays: bedroom light on at 30% brightness, coffee maker on, news briefing plays
– App to use: Alexa Routines or Google Home Automations (both free)
2. “Welcome Home” Routine (trigger: phone location / door sensor)
– Front door opens between 5pm–8pm: living room light on, thermostat adjusts, diffuser on
– Best with: Aqara door sensor + Alexa routine
3. “Goodnight” Routine (trigger: voice command or time)
– “Alexa, goodnight” or 11pm: all lights off, check doors locked (if smart lock), white noise on
– Most popular routine type – set it once, use it forever
4. “Away Mode” (trigger: phone leaves home geofence)
– All lights off, smart plugs off, camera to active monitoring mode
– Saves electricity, adds security – zero ongoing cost
5. “Movie Time” (trigger: voice command)
– “Alexa, movie time”: living room light dims to 20%, TV on (via smart plug or IR blaster), do-not-disturb activated
– Cost: $0 – just setup time
Where to build routines:
– Alexa app → More → Routines (most flexible trigger options)
– Google Home app → Automations (better for location-based triggers)
– Apple Home → Automations (best for Matter devices)
Cost: $0 – all apps are free
Step 6: Add Voice Control
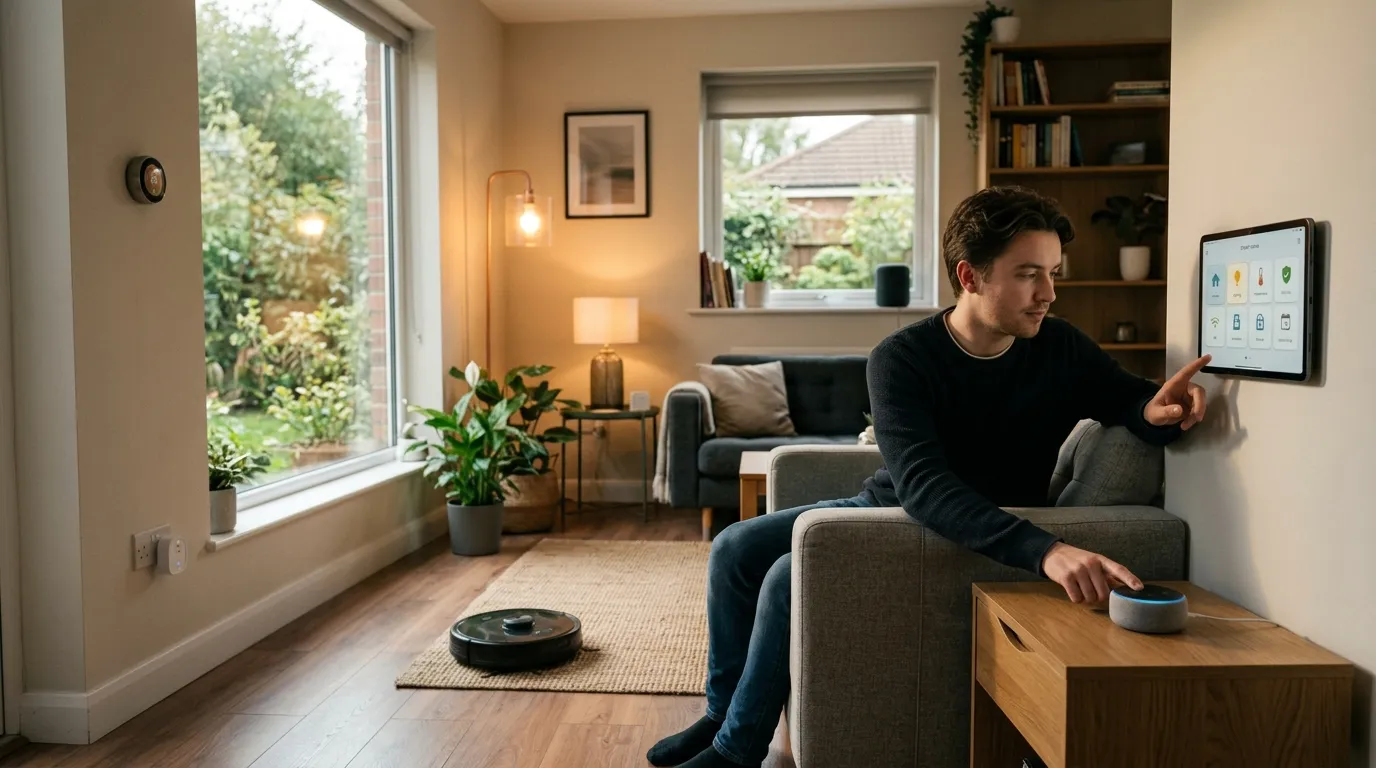
If you already have an Echo or Google Nest device, you have voice control. This step is about making it work better across your home. Voice control adds a layer of accessibility and convenience that complements your automated routines.
One device per room vs. one hub for the whole house:
The myth: you need a smart speaker in every room. The reality: one Echo or Google device covers a 1,000 sq ft apartment if placed centrally. For a house, add a second device in the bedroom or kitchen.
Best budget voice control devices (2026):
| Device | Price | Where to Buy | Best For |
|---|---|---|---|
| Echo Dot (5th gen) | $35–40 | amazon.com | Alexa ecosystem, bedroom |
| Google Nest Mini (2nd gen) | $30–35 | store.google.com | Google Home ecosystem |
| Echo Show 5 | $60–70 | amazon.com | Screen + voice, kitchen |
Honest advice: Don’t buy more than 2 smart speakers until you know you’ll use them. One well-placed device + your phone app covers most needs. The phone app IS voice control – Alexa and Google Home both work on your phone.
Optional cost: $35–70 if you need a device
Step 7: How Do You Scale Without Breaking the Bank?
Once your starter setup runs smoothly for 2–4 weeks, you’ll naturally want to expand. Here’s how to scale without wasting money. Patience is key when learning how to automate your home on a budget; buy only what solves a current problem.
The scaling rule: Only add a device when you have a specific automation in mind. “I want X to happen when Y happens” – if you can’t fill in those blanks, you don’t need the device yet.
High-value additions at each budget level:
Under $100 additional spend:
– Smart thermostat (Wyze Thermostat $60 at wyze.com) – saves $10–20/month on energy, pays for itself in 3–6 months
– Second Echo Dot for bedroom ($35)
– 2 more smart plugs ($16)
Under $200 additional spend:
– Smart lock (Level Lock Bolt $100 at level.co, no key replacement needed – installs inside your existing deadbolt, landlord-safe)
– best robot vacuums 2026 (Roborock Q Revo Mini $199 at roborock.com) – set to run at 10am daily automatically
– Outdoor smart plug for porch lights ($20)
Under $300 additional spend:
– Video doorbell (Wyze Video Doorbell Pro $50 at wyze.com)
– Smart leak sensors (Govee Water Leak Detector $10 each at govee.com) under sink, near washer
– Aqara hub M2 ($30) to unlock full sensor automations
Budget Tier Breakdown
Tier 1: Starter Setup (~$100)
“I want to try smart home without committing”
– 1 hub: Already own Echo/Google Home ($0)
– 3 smart plugs: Kasa EP10 ($24)
– 4 smart bulbs: WiZ A19 ($40)
– 1 door sensor: Aqara ($18)
– Setup time: 2 hours
– Result: Lights and appliances on schedules, voice control, 1 location-based automation
Tier 2: Mid Setup (~$300)
“I want real automation, not just remote control”
– Everything in Tier 1 ($82)
– 2 motion sensors: Wyze 2-pack ($25)
– 1 security camera: Wyze Cam v4 ($36)
– 1 smart thermostat: Wyze Thermostat ($60)
– 2 more smart plugs ($16)
– Aqara hub for full sensor features ($30)
– Setup time: 4–6 hours
– Result: True automation: lights respond to presence, thermostat self-adjusts, home monitored, energy savings visible on utility bill
Tier 3: Full Setup (~$500)
“I want my home to run itself”
– Everything in Tier 2 ($249)
– Smart lock: Level Lock Bolt ($100)
– Smart video doorbell: Wyze Doorbell Pro ($50)
– Robot vacuum: Roborock Q Revo Mini ($199)
– Setup time: Full weekend
– Result: Complete home management – doors, security, cleaning, energy all automated. Feels genuinely futuristic.
Cost Breakdown Tables
What You Need | Budget Pick | Mid-Tier | Premium | Monthly Cost
| Category | Budget Pick | Price | Mid-Tier | Price | Premium | Price | Monthly Cost |
|---|---|---|---|---|---|---|---|
| Hub | Echo Dot (or existing) | $0–35 | Echo Show 5 | $60 | Apple HomePod | $99 | $0 |
| Smart Plugs | Kasa EP10 | $8/ea | Tapo P115 | $12/ea | Wemo Mini | $18/ea | $0 |
| Smart Bulbs | WiZ A19 | $10/ea | Philips Hue White | $15/ea | Lifx Color | $35/ea | $0 |
| Motion Sensor | Wyze 2-pack | $25 | Aqara FP2 | $60 | Lutron Caséta | $45 | $0 |
| Door Sensor | Aqara | $18 | Eve Door | $35 | SimpliSafe | $20+ monthly | $0 |
| Camera | Wyze Cam v4 | $36 | Blink Indoor | $50 | Ring Indoor | $60 | $0–3.99 |
| Thermostat | Wyze Thermostat | $60 | Ecobee Smart | $189 | Nest Learning | $249 | $0 |
| Smart Lock | Level Bolt | $100 | Schlage Encode | $189 | Yale Assure | $229 | $0 |
Energy Savings Estimate (Tier 2 Setup)
| What You Automate | Monthly Saving |
|---|---|
| Smart thermostat (-2°F setback when away) | $10–20 |
| Smart plugs eliminate standby power waste | $3–8 |
| Auto-off lights (no more “did I leave them on?”) | $2–5 |
| Total monthly savings | $15–33 |
| Tier 2 pays for itself in | 9–20 months |
What Should You NOT Buy? Common Beginner Mistakes
1. A $500 smart home hub. Control4, Savant, Crestron – these are for custom installers and $10,000+ setups. You don’t need them.
2. Smart switches before smart bulbs. Switches require wiring, may need a neutral wire your home doesn’t have, and void some leases. Start with bulbs.
3. Security systems with mandatory subscriptions. Ring, SimpliSafe, ADT all charge $10–$30/month. For basic monitoring, Wyze offers most features for free or $1.99/month.
4. Devices from ecosystems you don’t use. Wemo works best with Apple Home. Blink requires Alexa. SmartThings needs Samsung. Pick one ecosystem and buy compatible devices.
5. A smart lock before you’ve checked your lease. Many landlords prohibit lock modifications. The Level Lock Bolt installs inside the existing lock mechanism – completely invisible and non-destructive. Other locks require replacing the deadbolt.
6. Premium color bulbs for every room. Color-changing Philips Hue bulbs ($50+) in a utility room or hallway are wasted money. Use white-only budget bulbs everywhere except the living room or bedroom where you’ll actually use color scenes.
Related Guides on 4CasaHome
Looking for a broader overview? See our Best Smart Home Devices 2026 guide for a full comparison of hubs, cameras, and sensors across all price points.
For a focused list of top picks under $100, see our Best Smart Home Devices Under $100 2026 roundup – it covers the exact products mentioned here in more detail.
Not sure which voice assistant to build around? Our Alexa vs Google Home 2026 comparison covers which ecosystem wins for automation, privacy, and device compatibility.
FAQ
Q: Can I automate my home without a hub?
A: Yes. Most 2026 devices connect directly to WiFi and work with the free Alexa or Google Home app – no separate hub required. Only advanced sensors (like Aqara Zigbee devices) need a small $30 hub for full features.
Q: Does home automation require a monthly subscription?
A: No. Smart plugs, bulbs, and most sensors have zero monthly fees. Cameras are the exception – basic motion clips are free with Wyze, but 24/7 cloud recording costs $1.99/month. Most automation features work completely free.
Q: Is smart home automation renter-friendly?
A: Mostly yes. Smart bulbs, smart plugs, and sensors require no permanent changes. Smart locks are the gray area – the Level Lock Bolt installs invisibly inside your existing lock, making it the only truly renter-safe smart lock. Always check your lease before modifying switches or hardwired devices.
Q: What’s the cheapest way to start?
A: Start with a single $8 Kasa smart plug and the free Alexa app. Plug in a floor lamp, set a schedule. Once that routine saves you effort, add the next device. You can have a meaningful starter setup for $50.
Q: Do smart home devices work without internet?
A: Some do, some don’t. Most WiFi devices (Kasa, WiZ, Wyze) require internet for app control and cloud routines. Zigbee devices (Aqara) can run locally through a hub, even without internet. For critical functions like door locks, local operation matters – check before buying.
Q: Will my smart home devices work together even if they’re from different brands?
A: In 2026, mostly yes – thanks to Matter. Devices with the Matter logo work across Alexa, Google Home, and Apple Home simultaneously. Older non-Matter devices may be ecosystem-locked. Look for “Matter compatible” when buying new devices. (Source: Connectivity Standards Alliance, csa-iot.org/matter)
Q: How much can I save on electricity with a smart home setup?
A: A mid-tier setup (smart thermostat + smart plugs on standby devices + auto-off lights) typically saves $15–33/month based on average US household energy costs. A smart thermostat alone saves $10–20/month. (Source: U.S. Department of Energy – Smart Home Systems | NIST IoT Cybersecurity)
Q: Is it safe to leave smart home devices running while I’m away?
A: Yes, with standard precautions. Use strong WiFi passwords, keep device firmware updated, and choose brands with good security track records (Kasa, Aqara, Wyze). Avoid ultra-cheap no-brand devices from unknown manufacturers – they often have security vulnerabilities.
Q: What’s the best smart home setup for a studio apartment?
A: For a studio: 1 Echo Dot ($35), 2 WiZ bulbs for main light ($20), 2 Kasa smart plugs ($16), 1 Wyze Cam for security ($36). Total: ~$107. Build 3 routines: Good Morning, Welcome Home, Goodnight. That’s 80% of what a full house setup does, for a fraction of the price.
Q: What if I want to expand beyond these basics?
A: The logical next steps are: smart thermostat (biggest energy ROI), robot vacuum (schedule to run daily), and video doorbell (adds security layer). Add one at a time, based on which pain point bothers you most. Don’t buy everything at once – live with what you have for 2–4 weeks first.
Get the 4casahome digest
Honest reviews and no-hype guides — straight to your inbox. No spam, unsubscribe anytime.
Some links in our articles are affiliate links. See our full Affiliate Disclosure for details.
Related Articles


Written and tested by our editorial team
4CasaHome Editorial Team
Interior Design & Smart Home Experts
All product reviews are based on hands-on testing in real home environments. Smart home content is verified by our CEDIA-certified integrator. Meet our team.